Essential Enduro Bike Setup for Multi-Day Off-Road Tours
Preparing an enduro motorcycle for a multi-day off-road tour involves more than simply packing a bag and filling the tank. Extended journeys across varied terrain place sustained demands on the machine, and a systematic approach to setup can help riders manage comfort, control, and mechanical reliability over consecutive days of riding. The process begins with understanding how the bike’s systems interact with the rider’s weight, the load being carried, and the expected trail conditions. Suspension, tires, and luggage are three foundational areas where informed adjustments can make a meaningful difference in how the motorcycle behaves over long distances.
This article outlines a process-oriented framework for setting up an enduro bike for multi-day off-road touring. It covers suspension tuning, tire selection, and luggage mounting in a sequence that reflects how these systems influence one another. The focus is on methodology and context rather than prescriptive settings, because the appropriate configuration depends on factors such as rider weight, terrain type, ambient temperatures, and the total weight of gear and supplies. Riders are encouraged to treat each adjustment as part of an iterative testing process rather than a one-time task.
It is also important to recognize that no single setup works universally. The information presented here is intended to support informed decision-making and should be adapted to the specific motorcycle model, the rider’s experience level, and the conditions anticipated during the tour. Where appropriate, consulting the manufacturer’s documentation and seeking guidance from qualified suspension technicians or experienced tourers can help clarify the trade-offs involved.
Suspension Tuning for Loaded Off-Road Touring
Suspension tuning is often the first area to address when preparing an enduro motorcycle for a multi-day tour. The addition of luggage, tools, water, and supplies increases the total weight carried by the bike, which in turn affects how the suspension compresses and rebounds over obstacles and uneven ground. A setup that feels balanced for unloaded trail riding may become overly soft or unpredictable when the bike is fully loaded. The goal of tuning is to establish a baseline that keeps the chassis stable and the tires in contact with the ground across a range of conditions, while preserving enough compliance to absorb impacts without excessive deflection.
The process typically begins with measuring and setting sag, which refers to how much the suspension compresses under the combined weight of the rider and the load. Static sag and rider sag are measured with the bike on a stand and with the rider in a normal riding position, respectively. These measurements provide a reference point for adjusting spring preload and can indicate whether the stock spring rates are appropriate for the total load. Riders carrying substantial gear may find that the standard springs are insufficient, and a suspension specialist can advise on whether a change in spring rate is warranted. It is worth noting that sag figures vary by motorcycle model and intended use, so manufacturer guidance should be consulted rather than relying on generic numbers.
Once sag is established, damping adjustments can be explored. Compression damping controls how the suspension responds to impacts and gradual terrain changes, while rebound damping governs how quickly the suspension returns to its extended position. On multi-day tours, a slightly firmer compression setting can help manage the added weight and reduce wallowing, but too much compression damping may transmit harshness to the rider over long distances. Rebound should be adjusted so that the suspension returns in a controlled manner without packing down over successive bumps. Changes should be made one at a time and recorded, allowing the rider to correlate adjustments with observed behavior on familiar trails before the tour begins.
Environmental and load variables should be considered throughout the tuning process. Ambient temperature can influence oil viscosity and, consequently, damping behavior, while the distribution of luggage weight affects front-to-rear balance. Riders should test the setup with the bike loaded as it will be during the tour, including water and fuel, because these consumables change weight over the course of a day. A notebook or digital log documenting settings, terrain, and impressions can support continuous refinement. Ultimately, suspension tuning is an iterative exercise, and the best results come from methodical testing rather than a single adjustment session.
Tire Selection and Pressure Management for Extended Off-Road Use
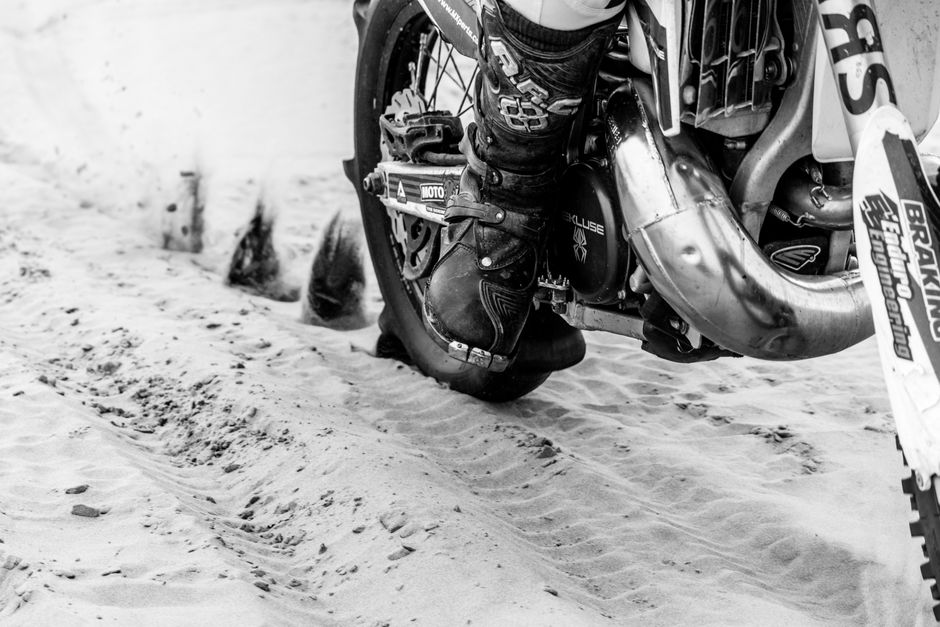
Tire selection is another critical component of enduro setup for multi-day tours, as tires influence traction, comfort, and durability across mixed terrain. Off-road touring often involves a combination of dirt roads, rocky tracks, mud, sand, and occasional pavement transfers, so riders must weigh grip against wear resistance and consider how different tread patterns behave over sustained use. Tire compounds and constructions vary, and the choice should reflect the predominant terrain and the expected load. A tire that performs well in soft conditions may wear quickly on hard-packed surfaces, while a harder-wearing option may sacrifice some grip in loose or wet conditions.
When evaluating tires, riders can consider several characteristics: tread pattern and depth, sidewall strength, and the intended inflation pressure range. A more aggressive tread pattern can improve traction in loose or muddy conditions but may generate more noise and heat on pavement. Reinforced sidewalls can help resist punctures and pinch flats when riding loaded over rocky terrain, though they may feel stiffer. Inflation pressure is a dynamic variable that riders can adjust to suit conditions; lower pressures can increase the contact patch and improve traction in soft ground, but they also raise the risk of pinch flats and rim damage. The appropriate pressure depends on tire construction, load, and terrain, and it is advisable to consult the tire manufacturer’s recommendations as a starting point.
For multi-day tours, tire management extends beyond initial selection. Riders should plan for potential repairs and carry appropriate tools, such as tire irons, a pump, and a repair kit, along with a spare tube if the bike uses tubes. Checking pressures at the start of each day and after significant temperature changes can help maintain consistent handling. It is also useful to inspect tires for wear and damage during rest stops, particularly after riding through sharp rocks or debris. Because tire performance interacts with suspension settings, changes in tire choice or pressure may warrant revisiting suspension adjustments to maintain overall balance.
It is worth emphasizing that tire selection involves trade-offs and that no single tire is ideal for all conditions. Riders may benefit from discussing options with other tourers or consulting a knowledgeable dealer, and in some cases, carrying a second set of tires or arranging resupply may be impractical. The key is to match the tire to the expected demands of the route while retaining a margin for unexpected conditions. Documenting the behavior of different tires over time can inform future choices and contribute to a more predictable touring experience.
Luggage Mounting Systems and Weight Distribution
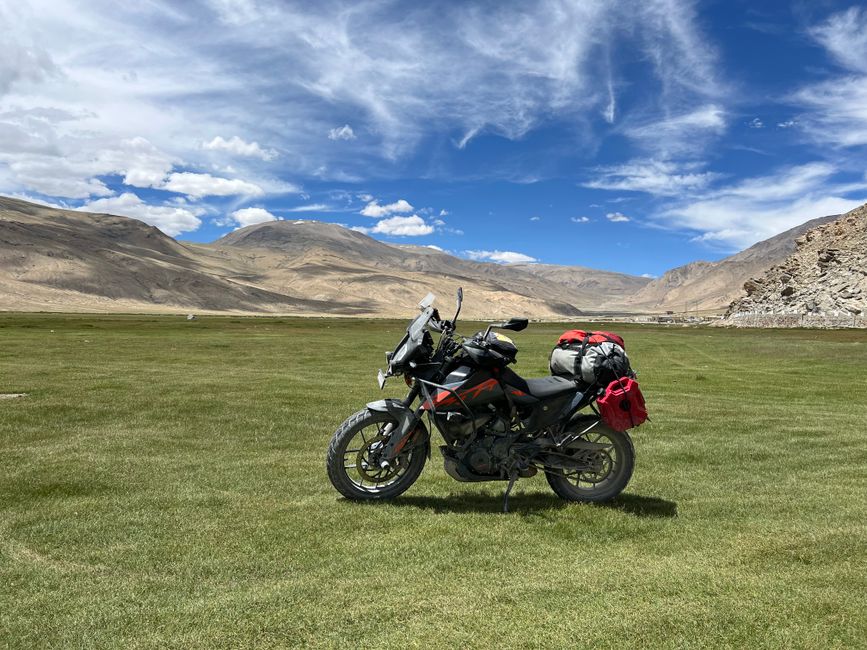
Luggage mounting is the third foundational area of enduro setup, and it deserves careful attention because poor weight distribution can undermine even a well-tuned suspension. Enduro motorcycles typically have limited mounting options compared to dedicated touring bikes, so riders often use soft luggage systems such as saddlebags, tank bags, and tail bags, or a combination of these. The mounting method should be secure enough to withstand vibrations and impacts without damaging the motorcycle’s bodywork or interfering with controls. Riders should also consider how luggage affects rider movement, particularly when standing on the pegs or shifting weight during technical sections.
A systematic approach to luggage begins with determining the total weight and volume of gear required, then distributing that weight in a way that maintains a low center of gravity and balanced front-to-rear loading. Heavy items are generally best placed low and close to the bike’s center, while lighter, bulkier items can be carried higher or toward the rear. However, this is a general principle, and the specific distribution should be tested on the bike. Riders can use a scale to weigh packed bags and adjust accordingly. It is also important to keep luggage away from hot exhaust components and moving parts, and to ensure that straps and buckles are secured so they cannot catch on branches or wheels.
Mounting hardware should be inspected regularly, especially on multi-day tours where vibration and terrain impacts can loosen fasteners. Riders may consider using thread-locking compound on bolts and carrying spare straps or zip ties for emergency repairs. Soft luggage systems that attach with straps should be checked for wear at contact points, and any abrasive areas can be protected with tape or padding. Some riders choose to add a rear rack or side racks to provide a more stable platform, but these additions should be evaluated for their impact on the bike’s handling and weight. As with suspension and tires, the luggage setup should be tested in loaded conditions before the tour to identify any issues.
Integrating Setup Elements and Preparing for the Journey
The three areas discussed—suspension, tires, and luggage—do not exist in isolation. Changes in one area can affect the others, so an integrated approach is beneficial. For example, adding luggage weight may require suspension adjustments, and a change in tire pressure can influence how the suspension behaves over certain terrain. Riders can adopt a testing sequence that addresses suspension baseline first, then tire selection and pressure, and finally luggage mounting and weight distribution, revisiting earlier adjustments as needed. This iterative process helps build a coherent setup that supports control and comfort over consecutive days.
Preparation for a multi-day tour also involves broader considerations such as maintenance checks, tool kits, navigation, and contingency planning. While these topics are beyond the scope of this article, they are part of the overall context in which suspension, tire, and luggage decisions are made. Riders should allocate time for thorough pre-tour inspections and consider a shakedown ride with the fully loaded bike to identify any issues before departure. Keeping a log of settings and observations can be valuable for future tours and for communicating with mechanics or other riders.
Finally, it is important to recognize that outcomes depend on many variables, including rider skill, weather, terrain, and mechanical condition. No setup can guarantee a trouble-free journey, and riders should maintain a flexible mindset, adapting to conditions as they arise. The methods described here are intended to provide a structured foundation for decision-making, not a definitive formula. By approaching setup as an ongoing process of observation and adjustment, riders can better understand their motorcycle and make informed choices that suit their individual needs and the demands of their chosen route.